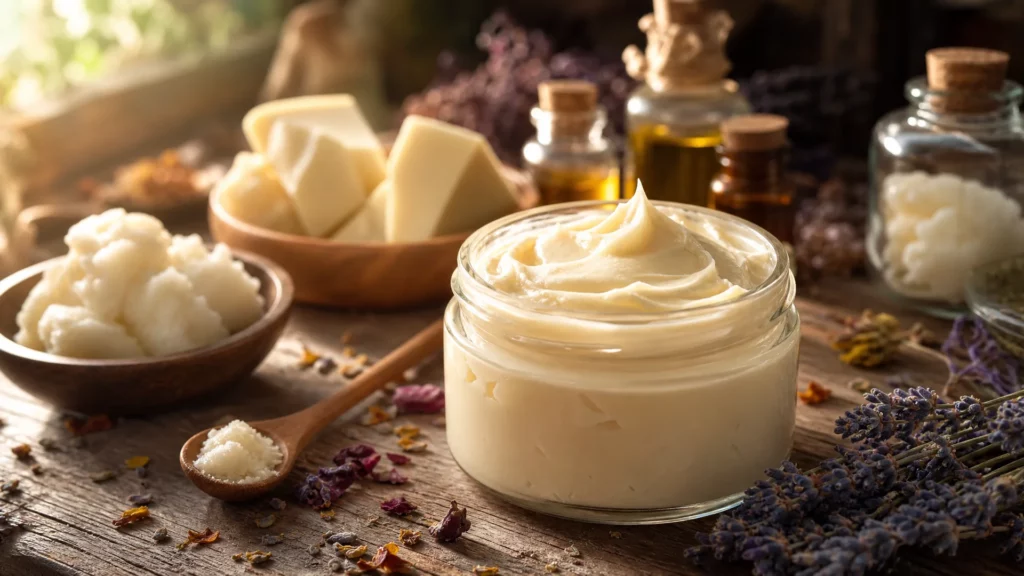
How to Make Natural Body Butter: Recipe and Tips
If you’ve ever wanted to know how to make natural body butter at home, with exact measurements, not vague guesses, you’re in the right place. Body butter is one of the most rewarding DIY skincare projects because it’s simple, cost-effective, and genuinely better than most of what you’ll find on a shop shelf. No water, no synthetic emollients, no parabens. Just rich, skin-loving butters and oils blended into something that actually works.
This guide gives you a reproducible recipe, explains why each ingredient earns its place, and covers the texture problems most other recipes skip over entirely.
What Is Natural Body Butter (and Why It Beats Store-Bought)
Natural body butter is an anhydrous product, meaning it contains no water at all. It’s a blend of solid butters and liquid carrier oils, whipped or poured into a jar. Because there’s no water present, bacteria and mould can’t grow, so you don’t need preservatives.
Store-bought moisturisers are mostly water. That water needs emulsifiers to bind with the oils, and preservatives to stop it going off. The result is often a formula that’s 70–80% water padded out with synthetic thickeners and fragrance. You pay for packaging as much as product.
A homemade body butter flips that. Every gram in the jar is active ingredient. For South African skin, dealing with dry winters in Johannesburg or humidity in Durban, you can tailor the blend to exactly what your skin needs. If you’re new to making your own products, the beginner’s guide to skincare formulation is a good starting point before you dive in.
Natural Body Butter Ingredients: What You Need and Why
The core formula has two components: solid butters that give the product its body and slip, and liquid carrier oils that keep it from feeling heavy or waxy.
Choosing Your Base Butter: Shea, Mango & Cocoa
Shea butter is the workhorse. It’s soft at room temperature, absorbs well without a greasy film, and whips beautifully. Use it at 50–70% of your total formula. It’s the single most important ingredient in any shea butter body butter recipe.
Mango butter is lighter and less rich than shea. Replacing even 10% of shea with mango butter noticeably reduces the “whipped cream” drag on skin, useful if you’re formulating for warmer climates or oilier skin types. Use it at 10–20% of the formula.
Cocoa butter adds hardness and a subtle chocolate scent. It’s firmer than shea and raises the melting point of your finished product, which matters in a South African summer. Keep it at 8–15%, go higher and the butter becomes waxy and difficult to scoop.
Liquid Carrier Oils That Perfect the Texture
Solid butters alone produce a product that’s too stiff and heavy. Liquid oils give body butter its spreadability and that silky finish on skin.
- Jojoba oil is technically a liquid wax, which makes it extremely stable and non-comedogenic. It’s an excellent choice for combination or acne-prone skin. For more on why it performs so well, see jojoba oil benefits and formulation tips.
- Sweet almond oil is affordable, lightweight, and adds great slip. It’s a good everyday choice for all skin types.
- Carrot seed carrier oil adds skin-conditioning benefits including antioxidants. Don’t confuse it with carrot seed essential oil, for clarification on that distinction, see carrot seed carrier oil for skin.
Total liquid oil in the formula should sit at 20–30%. Below 20% and the butter feels heavy; above 30% and it won’t hold its shape or whipped peaks.
Body Butter Recipe: Step-by-Step with Exact Measurements
Base Recipe (Makes ~200 g)
This formula is tested and reproducible. Weigh every ingredient on a digital scale, don’t use volume measurements for this.
| Ingredient | % | Weight (200 g batch) |
|---|---|---|
| Shea butter | 50% | 100 g |
| Mango butter | 20% | 40 g |
| Jojoba or sweet almond oil | 20% | 40 g |
| Cocoa butter | 8% | 16 g |
| Vitamin E oil | 2% | 4 g |
| Total | 100% | 200 g |
Vitamin E acts as an antioxidant that slows the rancidity of your carrier oils, extending shelf life. Learn more about how vitamin E oil works in skincare.
Equipment you’ll need:
- Double boiler or heat-proof bowl over a saucepan
- Digital kitchen scale
- Hand mixer or stand mixer
- Silicone spatula
- Clean jars for storage
- Thermometer (optional but helpful)
Method:
- Melt shea, mango, and cocoa butter together over a double boiler on low heat. Don’t boil, gentle heat only.
- Remove from heat and stir in your liquid oil (jojoba or sweet almond).
- Allow the mixture to cool at room temperature. Do not refrigerate to speed this up.
- When the edges of the bowl begin to turn opaque and the mixture feels cool to the touch (around 22–25 °C), it’s ready to whip.
- Add vitamin E oil, then whip with a hand mixer on medium speed for 5–8 minutes.
- Add essential oils (see below), whip briefly to combine, then spoon into jars.
A 200 g test batch using this exact formula whipped to a stable, fluffy consistency after cooling to approximately 22 °C. That’s why cooling temperature matters more than how long you whip.
How to Whip Body Butter for a Light, Fluffy Texture
The whipped body butter texture people love comes down almost entirely to temperature control. Whip too early (while the mixture is still warm and liquid) and you get a flat, oily result. Whip too late (when it’s fully solid) and you’ll end up with a stiff paste with a poor texture.
The sweet spot is when the mixture has cooled to just below room temperature and the surface and edges are starting to solidify but the centre is still soft. At this point, whip in 2–3 stages, 2 minutes, scrape down the sides, 2 more minutes, until you get a pale, fluffy consistency similar to whipped cream.
If your kitchen is warm (above 28 °C), the finished butter may be softer and won’t hold stiff peaks. That’s fine, it’s still a great product, just a softer set. Slightly increasing the cocoa butter to 10–12% helps firm it up in summer.
Scenting Your Body Butter: Essential Oils, Ratios & Blending Tips
Essential oils should always be added after the butter has cooled below 40 °C. Above that temperature, the volatile aromatic compounds begin to evaporate, your scent fades and you waste expensive oils.
The standard usage rate for leave-on body products is 1–2% of total batch weight. For a 200 g batch, that’s 2–4 g of essential oil, or roughly 40–80 drops. Don’t exceed 3% on a product applied over a large body surface area, higher concentrations, particularly with citrus and spice oils, raise the risk of skin sensitisation. The International Fragrance Association (IFRA) publishes usage guidelines for individual oils if you want to check specific limits.
Beginner-friendly combinations:
- Lavender + sweet orange, calming and uplifting; a classic that works for almost everyone
- Frankincense + geranium, earthy and floral; excellent for mature or dry skin
- Peppermint + eucalyptus, cooling; great for a post-exercise body butter
For more complex blends, understanding how top, middle, and base notes work together makes a real difference, see blending essential oils using top, middle and base notes. You can browse essential oils for scenting body butter to shop what you need.
Texture Troubleshooting: Fixing Grainy, Oily or Too-Firm Body Butter
This is where most recipes go silent. Here are the three most common failures and exactly how to fix them.
Problem 1: Grainy or gritty texture
Graininess in shea-based butters is caused by rapid temperature change during cooling, specifically, cooling the butter too quickly (for example, putting it in the fridge). This triggers polymorphic crystallisation, where different crystal structures form at different rates. It’s the same phenomenon as poorly tempered chocolate. The fix: gently re-melt the entire batch over a double boiler, then cool it slowly at room temperature, away from draughts or the fridge.
Problem 2: Too oily, won’t hold shape or peaks
This usually means your liquid oil ratio is above 30%, or you started whipping while the mixture was still warm. Re-melt and either reduce the oil content slightly or add a little extra mango butter to firm things up, then cool more thoroughly before whipping.
Problem 3: Too hard or waxy
Cocoa butter is likely above 15% of your formula. Reduce it to 8–12% and compensate by increasing shea butter. Alternatively, increase the liquid oil by 2–3% to soften the final texture.
Body Butter Jar Packaging: Choosing, Filling & Labelling Your Product
Once your body butter is whipped and ready, the right packaging makes a practical difference, for storage and presentation alike.
Wide-mouth glass jars are the best choice for home use. The opening is wide enough to scoop the product easily, and glass doesn’t absorb odours or interact with your ingredients. PET plastic jars are a lighter option if you’re making gifts or travelling. For a more polished finish, aluminium tins work well for smaller batch sizes like 50–100 g.
When filling jars, note that body butter is lighter than water, a 200 ml jar will hold roughly 150–180 g of product depending on how fluffy the whip is. Always label by weight (grams), not volume.
For home use, wide-mouth jars for body butter are available directly from DIY Naturally, a practical option when you’re ready to package your batch.
DIY Naturally stocks all the core ingredients referenced in this recipe, shea butter, mango butter, cocoa butter, jojoba oil, sweet almond oil, and vitamin E oil, so you can source everything from one South African supplier without hunting across multiple stores.
If you enjoy making anhydrous products, how to make natural lip balm follows the same principles and is a natural next project once you’ve nailed your body butter.
If you plan to sell your body butter in South Africa, check out our article on starting a beauty business for more information.
Disclaimer: All recipes and formulas are shared in good faith. DIY Naturally is not liable for any adverse reactions. Always perform a patch test before use, and substitute ingredients if you have known allergies. Use at your own discretion.