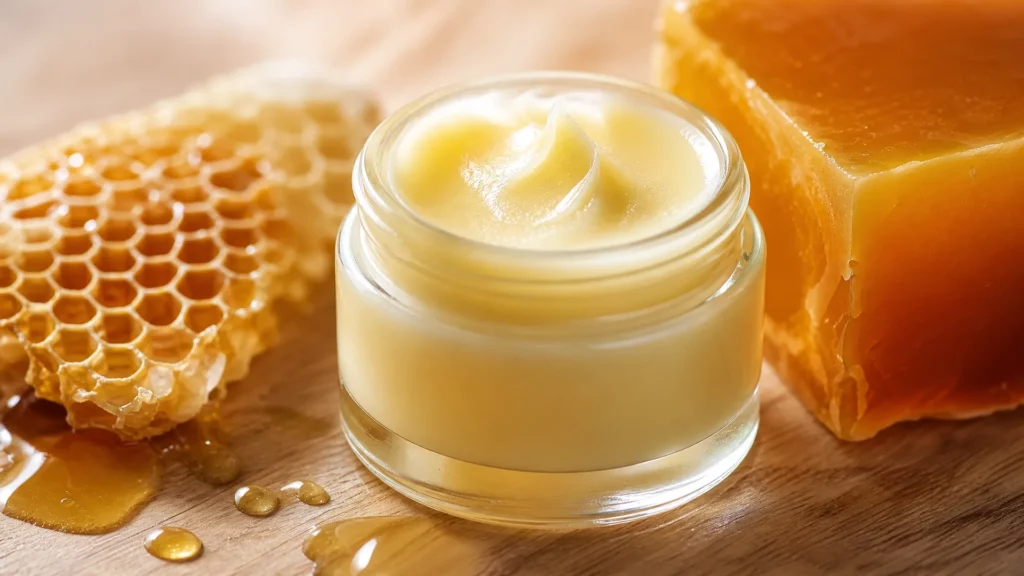
Beeswax Uses in Skincare Products
Beeswax has been a staple of skin protection for centuries, and once you understand what it actually does in a formula, it’s easy to see why. If you’ve been wondering about beeswax uses in skincare products, you’re in the right place. This guide covers the functional roles beeswax plays, the exact percentages to use by product type, how it handles (and doesn’t handle) emulsification, how it stacks up against plant waxes, and two beginner-friendly recipes to get you started. If you’re just finding your feet in formulation, the beginner’s guide to skincare formulation is a good place to build your foundations before diving in.
Beeswax Uses in Skincare, what it Actually Does in a Skincare Formula
Beeswax isn’t just a hardener. It’s one of the most versatile single ingredients you can work with, and understanding its functions stops you from over-using it or reaching for it in the wrong formula.
Structuring, Barrier, and Partial Emulsification: Three Roles in One Ingredient
Structuring and thickening is the most obvious role. Beeswax is composed of roughly 70–80% esters of fatty acids and long-chain alcohols, giving it a semi-crystalline structure that makes it far more complex than most plant waxes. That structure is what turns a liquid oil into a balm or salve at room temperature. The more beeswax you use, the firmer the final product.
Occlusive barrier formation is the second role. Applied to skin, beeswax forms a breathable, semi-occlusive film that slows trans-epidermal water loss. Unlike a fully occlusive barrier (think petroleum jelly), it lets some moisture exchange happen, which suits most skin types well. That’s why beeswax appears in everything from lip balms to hand salves, it protects without completely sealing the skin.
Partial emulsification is the third role, and the most misunderstood, more on that below. The short version: beeswax contains trace amounts of free fatty acids that allow it to hold small amounts of water in an oil-based formula, but it can’t build a stable water-in-oil emulsion on its own.
Together, these three functions make beeswax a go-to for anhydrous (water-free) formulas and a useful co-ingredient in emulsified creams.
How Much Beeswax to Use: Percentages for Every Product Type
This is the section most formulators scan first, so here are the numbers clearly.
Beeswax Lip Balm Percentage
For a classic lip balm, use beeswax at 20–30% of the total formula. At 20%, you get a softer balm with good slip. At 28–30%, you get a firmer stick that survives a warm handbag. A standard beginner formula pairs beeswax with castor oil (adds gloss and cling) and a butter like shea or mango (adds moisture and body).
The beeswax percentage you choose also depends on your other hard ingredients, if you’re adding candelilla or a hard butter, drop the wax slightly to avoid a waxy, draggy finish. The natural lip balm making guide covers every decision point if you want a full step-by-step walkthrough.
How Much Beeswax for Salves and Body Butters
| Product type | Beeswax % | Texture result |
|---|---|---|
| Soft body butter | 3–6% | Light, whipped feel |
| All-purpose salve | 10–15% | Semi-solid, melts on contact |
| Firm protective salve | 15–20% | Harder, more protective barrier |
| Lip balm stick | 20–30% | Firm stick structure |
For beeswax in creams (emulsified, water-containing), you’ll typically see beeswax at 2–6% alongside a dedicated emulsifier. Here it adds body and skin feel rather than doing the structural heavy lifting. Lower percentages keep the cream light; pushing above 6% can make the texture draggy and heavy.
For body butters, a small addition of beeswax (3–5%) alongside shea and a liquid oil stabilises the butter and prevents the grainy, separated texture that sometimes develops when hard butters cool unevenly.
Beeswax Emulsifying Properties: What It Can and Can’t Do
This is one of the most common beginner misconceptions, so it’s worth being direct: beeswax cannot fully emulsify water and oil on its own.
The confusion comes from old-fashioned “cold cream” recipes that use beeswax and borax together, the borax reacts with the free fatty acids in beeswax to form a soap-like emulsifier in situ. Without that reaction (or a modern dedicated emulsifier), mixing water into a beeswax-oil base will give you separation, not a stable cream.
What beeswax can do in an emulsified formula is act as a co-emulsifier and secondary structurant. It adds viscosity to the oil phase, improves stability, and gives the finished product a more elegant skin feel. But it works alongside a proper emulsifier, it doesn’t replace one.
If you’re moving from anhydrous salves into water-containing formulas, you’ll need to add dedicated emulsifiers to your toolkit. The how to make a natural face cream at home guide walks through how beeswax fits into a full cream formula alongside an emulsifier.
Getting this right saves you from grainy, split, or watery disasters, and from over-complicating anhydrous formulas by adding water they can’t hold.
Beeswax vs Plant Wax: Which Should You Use?
The beeswax vs plant wax question comes up constantly, and the honest answer is: it depends on what your formula needs, not just on personal preference.
Here’s how the main alternatives compare:
Candelilla wax (from a Mexican shrub) is roughly twice as hard as beeswax at the same usage rate. When substituting it in a vegan formula, use about half the amount to avoid an unexpectedly stiff product. It has a higher melting point (68–73°C vs beeswax’s 62–65°C) and a slightly shinier finish, useful in lip products.
Carnauba wax is even harder, with the highest melting point of the common cosmetic waxes (around 82–86°C). It’s often used in small amounts (1–3%) to add gloss and increase the hardness of a beeswax or candelilla base. On its own at lip-balm percentages, it would be uncomfortably hard and waxy.
Rice bran wax is softer and more flexible than the other plant waxes, with a skin feel closer to beeswax. It’s a good choice for body butters and softer balms where you want some structure without excessive stiffness.
For skin feel and ease of formulation, beeswax remains the most forgiving of the bunch. Its semi-crystalline, fatty-acid-rich composition gives a smooth, non-greasy finish that plant waxes can struggle to replicate exactly. If you’re formulating for vegan products, candelilla is the most practical swap, but adjust your percentages carefully. That ingredient-swap thinking is similar to what’s covered in natural alternatives to silicones in cosmetics, where functional properties matter as much as the ethical rationale.
DIY Naturally stocks both beeswax and common plant wax alternatives, so South African makers can source and compare them directly without importing, a real practical advantage when you’re testing a new formula.
Beeswax for Sensitive Skin: Is It a Good Fit?
Generally, yes. Beeswax is non-comedogenic at typical usage rates, doesn’t disrupt the skin barrier, and has been used safely in cosmetics for a very long time. Most people, including those with dry, reactive, or easily irritated skin, tolerate it well.
The exception worth knowing: a small number of people are allergic to propolis or honey components, and because raw beeswax can contain trace amounts of these, a patch test makes sense if you know you have a bee-product sensitivity. Refined beeswax (which most cosmetic-grade suppliers sell) has a lower allergen load than unrefined wax, so it’s the better choice for products aimed at sensitive skin.
True beeswax allergy is uncommon. Still, a 24-hour patch test behind the ear or in the crook of the elbow is a good habit regardless of skin type, especially with new formulations.
Two Simple Beeswax Recipes to Start With
Classic Beeswax Lip Balm
This is the formula most beginners start with, and it’s reliable every time.
Ingredients:
- Beeswax (cosmetic grade), 25%
- Castor oil, 30%
- Shea butter, 25%
- Sweet almond oil (or jojoba oil), 18%
- Vitamin E oil (tocopherol), 1%
- Fragrance or essential oil, 1% (optional)
Method:
- Weigh all ingredients except Vitamin E and fragrance into a heat-safe jug or double-boiler insert.
- Melt gently over a water bath until the beeswax is fully liquid (around 65–70°C). Stir to combine.
- Remove from heat. Once the temperature drops to around 60°C, add Vitamin E and fragrance.
- Pour immediately into lip balm tubes or pots. Leave undisturbed until fully set.
The castor oil adds the glossy cling that makes a lip balm feel luxurious; the shea butter adds moisture. Jojoba oil in formulation works well as a swap for sweet almond, it’s shelf-stable and suits most skin types. At 0.5–1%, Vitamin E acts as an antioxidant and extends shelf life. Pick up everything you need with a lip balm starter kit from DIY Naturally.
Easy All-Purpose Salve
Perfect for hands, feet, dry elbows, or as a general-purpose balm.
Ingredients:
- Beeswax (cosmetic grade), 12%
- Coconut oil, 30%
- Sweet almond oil, 30%
- Shea butter, 26%
- Vitamin E oil, 1%
- Essential oil of choice, 1% (lavender or calendula-infused oil work well)
Method:
- Melt beeswax, coconut oil, and shea butter together in a double boiler.
- Add sweet almond oil and stir to combine.
- Remove from heat; add Vitamin E and essential oil at around 60°C.
- Pour into tins or wide-neck pots. Leave flat and undisturbed to set.
At 12% beeswax, this salve is semi-solid, it melts cleanly on skin contact and spreads easily without feeling greasy. If you want a firmer, more protective barrier for very dry or cracked skin, push the beeswax to 15% and reduce the liquid oil by the same amount.
Ready to Start Formulating?
Beeswax uses in skincare products range from the very simple (a two-ingredient lip salve) to the more complex (a co-emulsifier in a water-in-oil cream). Knowing what percentage to use and what functional role you’re asking beeswax to play is the difference between a formula that works first time and one that takes a frustrating number of batches to fix.
Browse beeswax, plant wax alternatives, carrier oils, butters, and emulsifiers at DIY Naturally, everything you need is in one place, sourced for South African makers. And if you want new recipes, formulation tips, and ingredient spotlights delivered straight to you, sign up for the DIY Naturally newsletter. New guides go out regularly, and your next favourite formula is probably in the next one.
Disclaimer: All recipes and formulas are shared in good faith. DIY Naturally is not liable for any adverse reactions. Always perform a patch test before use, and substitute ingredients if you have known allergies. Use at your own discretion.